Related documentation
Products in Roe
Products are items you sell through your site using the Store feature. Each Products is a Markdown file (like Pages and Posts) with metadata for price, SKU, and more.
Before Products
Products need the Store feature. Enable it in Admin → Settings by clicking ENABLE STORE — store.yml then appears in the Features section.
The Store and Products work with Snipcart to handle the shopping cart, checkout, and payment processing.
Creating Products
Create and edit products in Admin → Products.
Metadata
The Admin shows product metadata as a simple form.
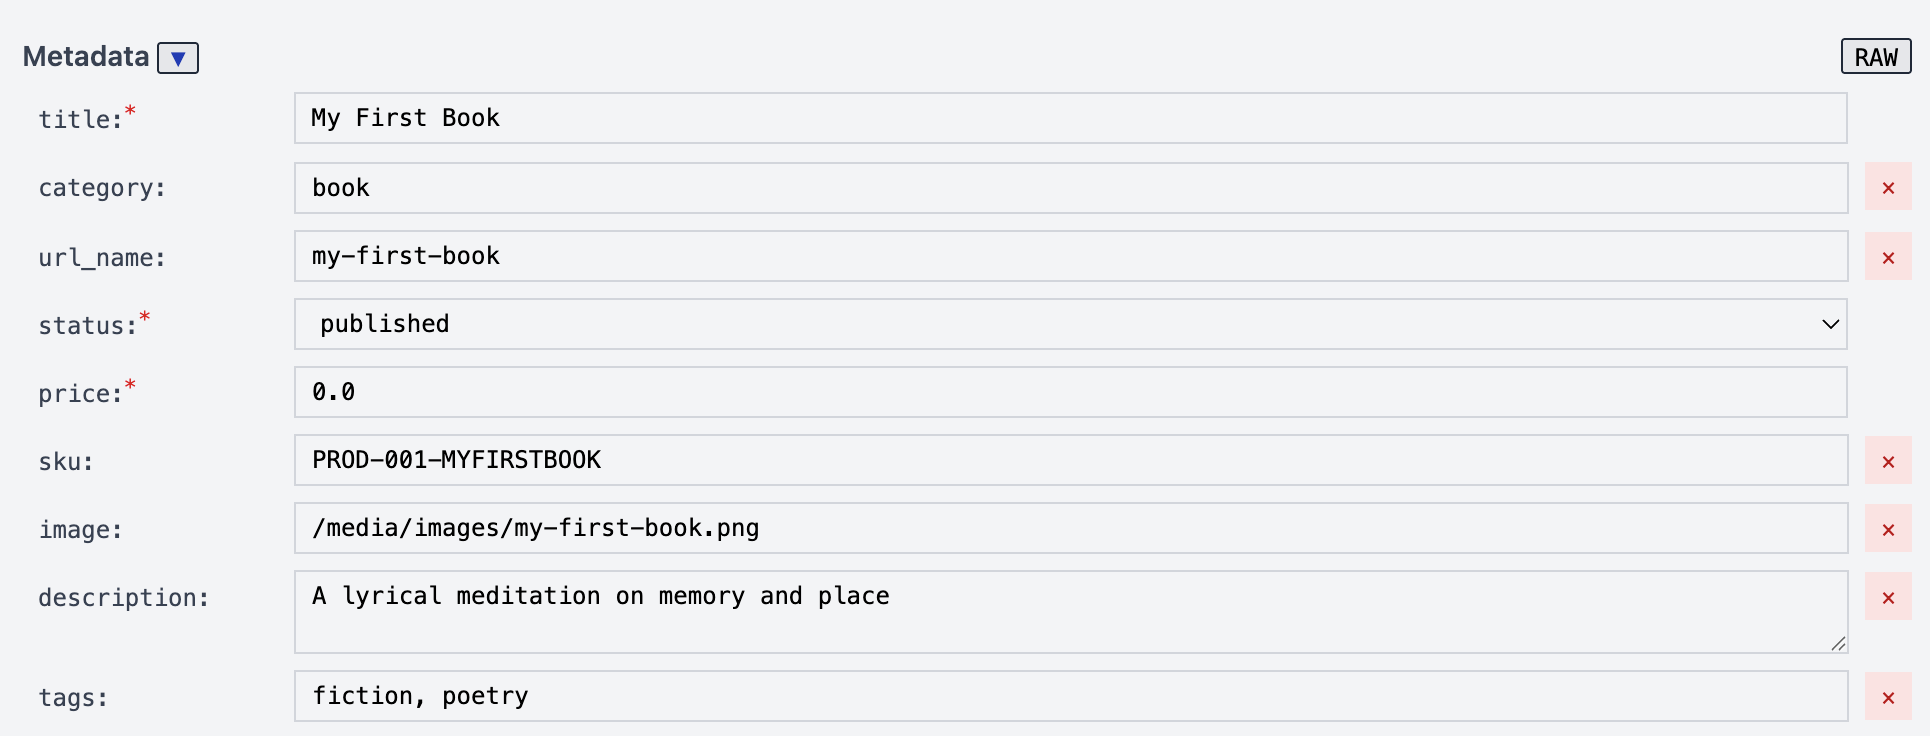
A table of Product metadata options and descriptions
| Field | Required | Description |
|---|---|---|
title |
Yes | Product name |
sku |
Yes | Unique identifier — how Snipcart tracks the item at checkout (required to publish) |
price |
Yes | Price as a number (e.g., 10.00) |
category |
Yes | Product category — used for filtering and SKU generation |
image |
Yes | Product image path |
status |
Yes |
draft or published
|
url_name |
No | Custom URL slug (auto-generated from the title if not set) |
tags |
No | Tags for filtering and organization |
description |
No | Short description shown in product grids |
group |
No | Groups variants together — see Product Variants |
variant |
No | Label for this variant (e.g., “Paperback”) |
primary |
No |
true to show this variant first in a grouped collection |
Product Variants (groups)
Groups let you sell different versions of a Product — the same t-shirt in several sizes, or one book in several formats (ebook, paperback). Configure product groups in Settings → Features → store.yml.
- Create a Product for each variant
- Give them all the same
groupname - Set
primary: trueon the version that should be the main Product - Give each a
variant(e.g., small)

In Collections with groups: enabled, Roe shows one price for the group — the lowest, the highest, or a range. You can change this setting in: Settings → Features → store.yml.
SKUs
Every product needs a SKU (Stock Keeping Unit) — a unique code that Snipcart uses to identify the item at checkout. Once a product is live and someone has bought it, don't change its SKU: doing so breaks the link to past orders.
Roe includes a SKU generator to help you create standardized SKUs.
SKU Generator
While editing any product, you’ll find the SKU Generator in the metadata editor. It builds a standardized SKU for you:

Suggested Pattern: {CATEGORY}-{NUMBER}-{TITLE/NAME}-{VARIANT-DETAILS}
-
Book Example:
BOOK-001-MYFIRSTBOOK-PAPERBACK -
Shirt Example:
TSHIRT-001-SHIRTNAME-RED-L
The generator:
- Uses the
category,title,variantif present to help build a SKU - Auto-increments numbers within each category
- Makes sure that the SKU is unique
How to display Products on your site
Details found in the Store article.
Product Pages
Each product file is also a page: below the metadata, you can add anything you’d write in regular Markdown — a description, sample chapter, or reviews.
Use the PRODUCT button in The Editor to insert a starter product page. It reads your metadata to give you a working layout to build on. (The button appears only while you’re editing a product.)
To link to a product from a post or another page, use a Product Link card (CARD ▼ → Product Link); it pulls in the product’s title, price, and image automatically.
Automatic CSS classes
Roe adds a few CSS classes to every product page so you can style common elements in your theme:
-
.product-title— the product’s first heading (its title). -
.product-image— the first image or gallery. The class lands on the<img>for a single image, or on the wrapper for a gallery. -
.product-top— wraps everything above the first---divider.
The PRODUCT button’s template ends with ---; the image, title, price, and buy button sit inside .product-top, while anything you write below the first --- is outside .product-top.
See Store to learn about the Store feature in Roe.